
How to Generate Stunning AI Images with ImgEdify: A Step-by-Step Guide
Learn how to master ImgEdify's image generation tools. Step-by-step instructions for Text-to-Image and Image-to-Image workflows with pro tips.
How to Generate Stunning AI Images with ImgEdify: A Step-by-Step Guide
AI image generation has transformed the way we create visual content. Whether you're a designer, marketer, or hobbyist, ImgEdify provides a powerful suite of tools to turn your ideas into high-quality images.
In this guide, we'll walk you through the process of generating images using both Text-to-Image and Image-to-Image features on ImgEdify.
Getting Started: Choosing Your Model
Before you begin, it's important to select the right AI model for your needs. ImgEdify offers several industry-leading models:
- GPT-Image-1 / 1.5: Great for high-detail artistic styles and complex compositions.
- Nano Banana / Pro: Powered by Google Gemini 2.5 Flash, perfect for fast, creative, and highly stylized generations.
- Imagen-3: Excellent for photorealistic and accurate text rendering (coming soon).
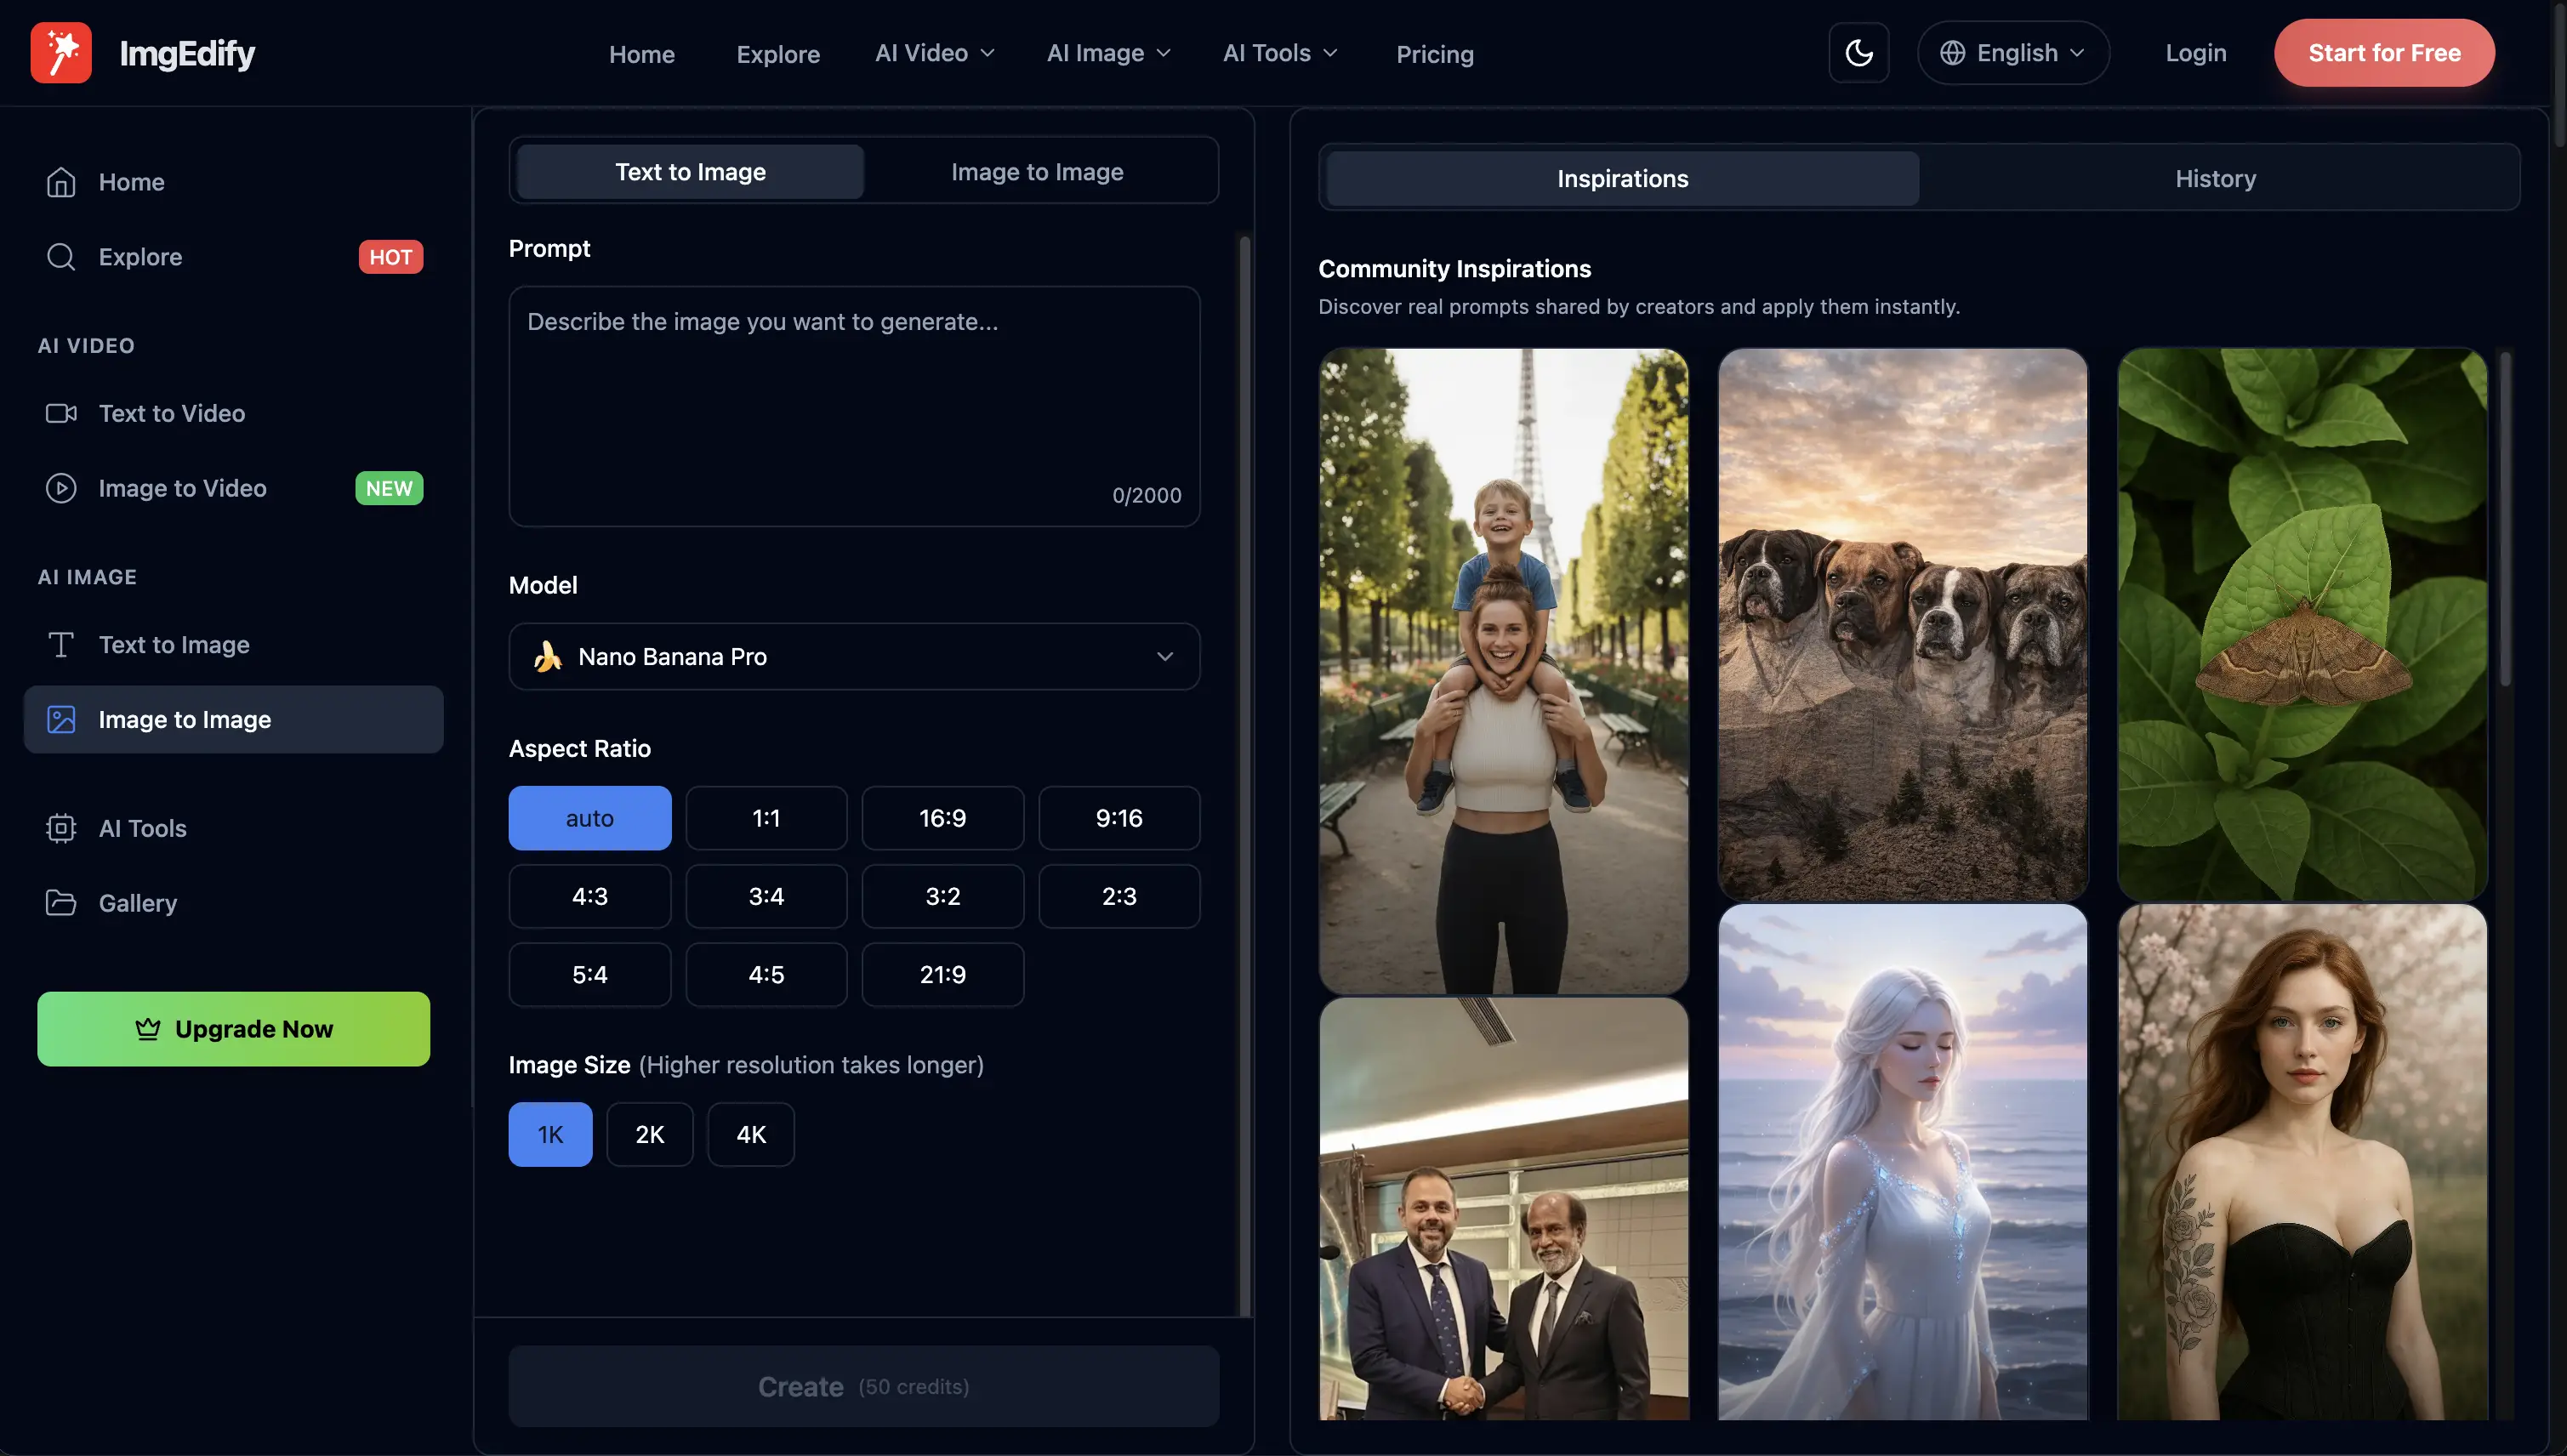
Step 1: Text-to-Image Generation
Text-to-Image is the most common way to generate AI art. You simply describe what you want to see, and the AI builds it.
How to use Text-to-Image:
- Navigate to the Generator: Go to the AI Image Generator page.
- Enter Your Prompt: In the input box, type a detailed description of the image you want.
- Example: "A futuristic city under a neon sunset, cyberpunk aesthetic, ultra-detailed, 8k resolution."
- Select Your Model: Choose your preferred model from the dropdown menu (e.g., GPT-Image-1.5).
- Click Generate: Press the "Generate" button and wait a few seconds for your masterpiece to appear.
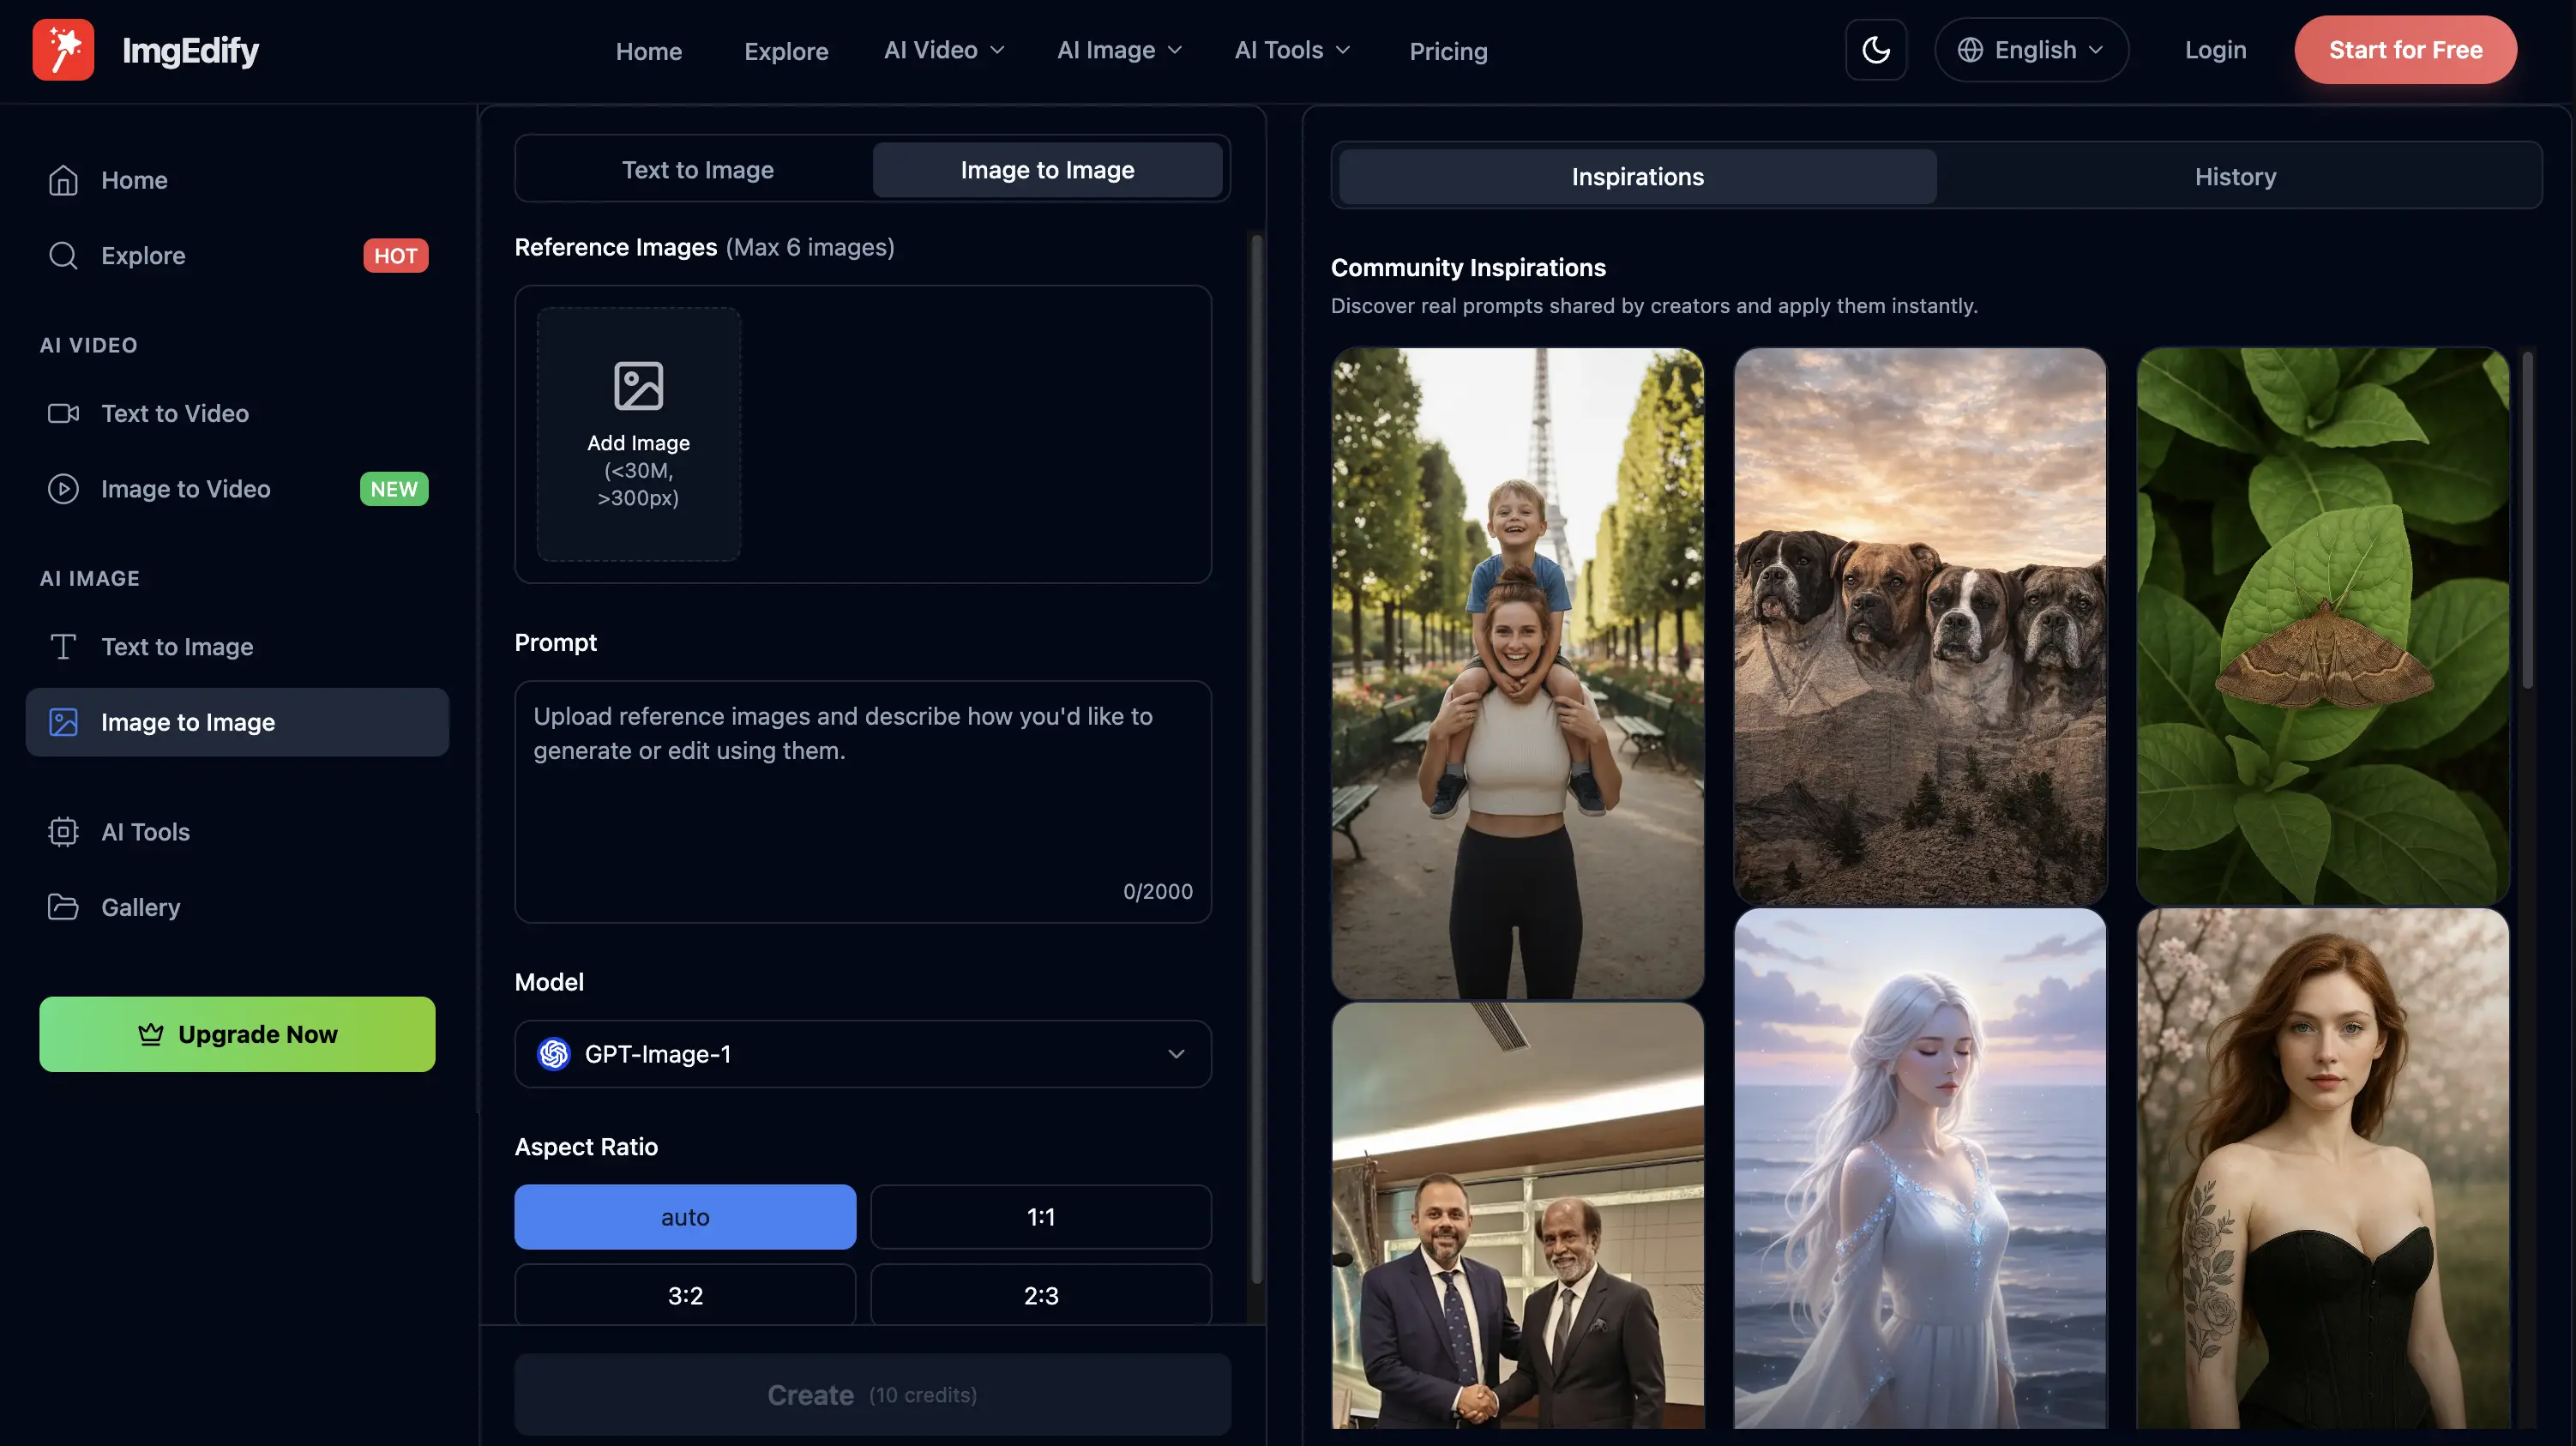
Step 2: Image-to-Image (I2I) Generation
Image-to-Image allows you to use an existing image as a reference for the AI. This is perfect for style transfers, character consistency, or refining an existing photo.
How to use Image-to-Image:
- Upload Your Image: Click the upload area or drag and drop your base image.
- Add a Prompt: Even with a reference image, you should provide a prompt to guide the transformation.
- Example: "Same composition but in the style of a Ghibli anime movie."
- Adjust the Strength: Use the "Image Strength" slider. High strength keeps the original image mostly intact; low strength gives the AI more freedom to change it.
- Hit Generate: Watch as the AI transforms your original image into something entirely new.
Step 3: Downloading and Finishing
Once your image is generated, you can:
- Download: Save the high-resolution image to your device.
- Refine: If it's not quite right, adjust your prompt or settings and generate again.
- Share: Show off your creation to the world!
Pro Tips for Better AI Images
- Be Descriptive: Instead of "a cat," try "a fluffy ginger cat wearing a space suit in a cinematic garden."
- Use Style Keywords: Adding words like "Cinematic," "Vibrant," "Minimalist," or "Oil Painting" helps the AI understand the mood.
- Experiment with Models: Different models have different "personalities." Try the same prompt on Nano Banana Pro and GPT-Image-1.5 to see the difference!
Conclusion
Generating images with ImgEdify is as simple as typing a few words or uploading a photo. With our advanced AI models, the only limit is your imagination.
Ready to create your first masterpiece? Start Generating Now!
FAQ
Q: Is it free to use? A: Yes, ImgEdify offers free credits to get you started!
Q: Can I use the images for commercial purposes? A: Depending on your plan, you can use generated images for various commercial projects. Check our pricing page for details.
Q: What is the best model for portraits? A: GPT-Image-1.5 and Nano Banana Pro are both excellent for high-detail realistic portraits.